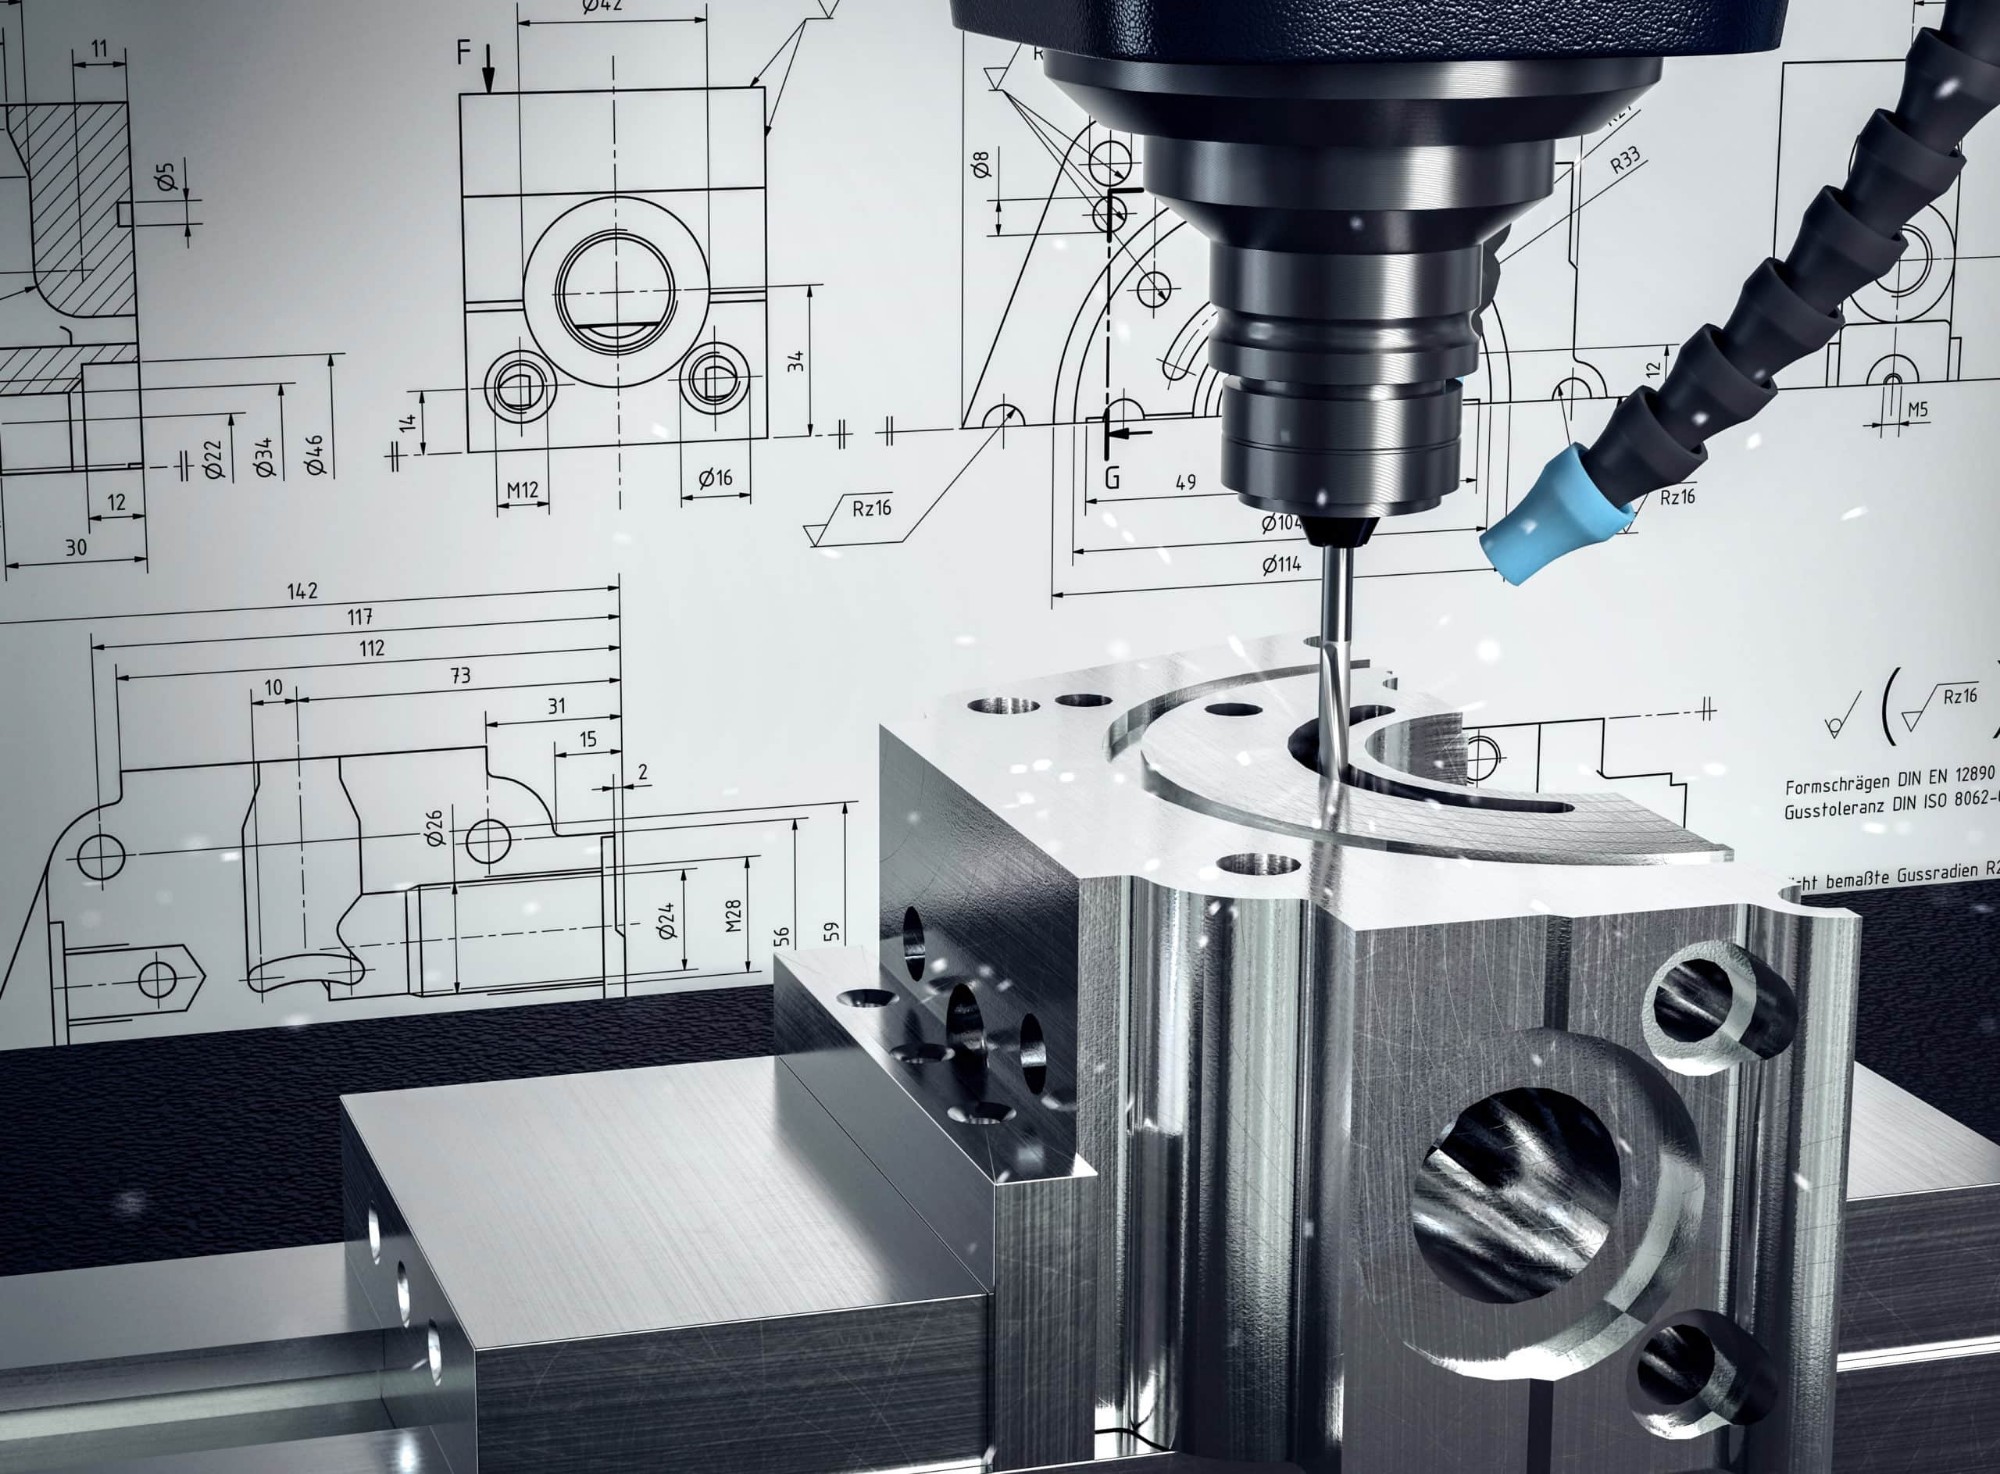
Study 1
Studay 1
CNC Machining
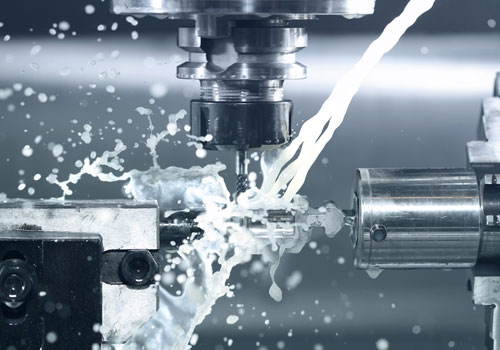
CNC Machining is our specialty service, designed to swiftly address customer needs. We offer a full range of CNC machines including 3-axis, 4-axis, and 5-axis capabilities.
LOW-Volume Production
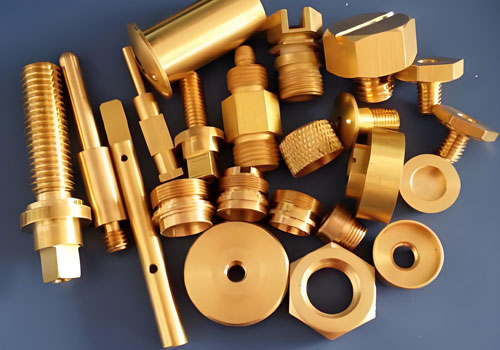
We specialize in small batch production to meet the needs of most businesses, offering quantities ranging from 1 to 1000 units.
Aluminum Profiles
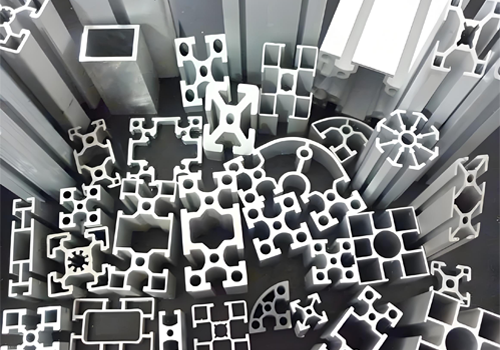
We have extensive experience in aluminum profile manufacturing, from mold design to extrusion molding.
Case Study 1
Project name: Case study of customized processing of motorcycle front and rear wheel hubs
Material used: aluminum alloy 6061 T6
Cooperation quantity: 3 sets Total 6
Production process used: CNC turning CNC milling Electrostatic spraying
Production cycle: 33 days
About the product and design requirements:
The product is used in the design of high-speed motorcycle racing wheels, which requires a higher speed than ordinary wheels, so the dimensional precision of the product is very high error range of 0.008-0.01mm, the true roundness requirement is as high as 0.015mm, the part of the machining process for any dimensional deviation and deformation of the product, will bring about a serious bias on the future prototype test.
Design Analysis:
Because the customer is a professional product designer, the customer's well-designed product does not need us to make any changes and needs to be produced exactly according to the design drawings. The material chosen by the customer is AL6061. Our professional prototyping technology can well meet the customer's needs.
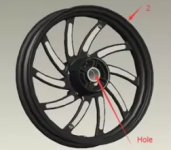
The center position indicated in the diagram requires a high-precision rolling bearing (accuracy: 0.005mm) to ensure a tight fit. The dimensional accuracy of the center and the outermost edge must be 0.008mm to ensure the wheel rotates at high speeds without wobbling.

The shape and dimensions of the tire shown in the diagram must meet strict requirements to prevent deformation during processing. Controlling dimensional tolerances is crucial. Any deformation or errors will directly affect the fit between the tire and the wheel.
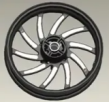
To enhance the appearance of the product, the parts require electrostatic spraying. The area marked in white on the diagram needs to maintain the natural color of the aluminum alloy, with a focus on achieving a clear and aesthetically pleasing boundary between the black spray and the natural color. Through analysis, we utilize our unique masking and spraying techniques to meet the high standards required by our customers.
Testing Methodology:
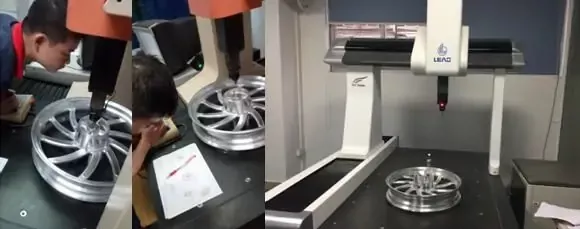
Strict 3D coordinate testing is required to verify the dimensional accuracy indicated on the drawings. Not a single deviation is permissible, ensuring 100% compliance with customer design requirements. A total of 300 dimensions need to be tested.
About the Project:
Through cost analysis and process evaluation, we developed a strategy involving CNC turning, complemented by CNC milling and high-precision fixture clamping. After comprehensive supplier evaluations, the customer ultimately chose to collaborate with us.
CNC turning machining
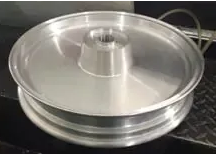
The first step is to use CNC turning machining to ensure the overall dimensions of the center and outer circle.
CNC milling machining
Large-scale CNC milling machining technology combined with high-precision fixture clamping ensures that the product remains free from deformation during clamping. It's crucial to pay attention to the center position as it directly impacts the final quality of the entire product.
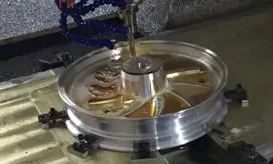
Paying attention to details is also a key factor in maximizing customer satisfaction, and we have very strict requirements for font treatment on our products.

Quality Inspection
Strict quality inspection is an essential part of our work. It's also a critical process in determining the quality of our products. We carefully inspect each critical dimension to ensure customer satisfaction and to achieve the highest level of service satisfaction from our customers.
Experience:
Having professional expertise and strict precision control are essential to producing final products that satisfy customers. We take pride in every part we manufacture. You will be proud to have these custom parts. If you have a project, please contact us promptly to customize a solution that meets your needs.

Case Study 2
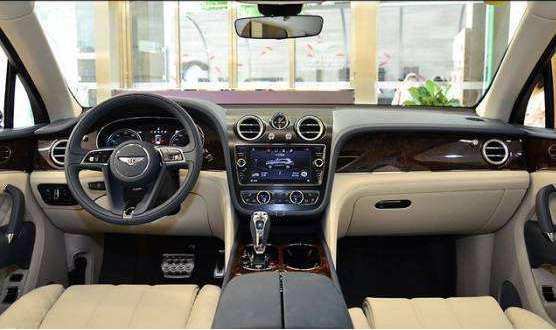
Project Name: High-End Luxury Bentley Car Air Vent Outer Ring and Other Automotive Accessories
Material Used: 304 Stainless Steel
Collaboration Quantity: 5 batches per year, 50 pieces per batch
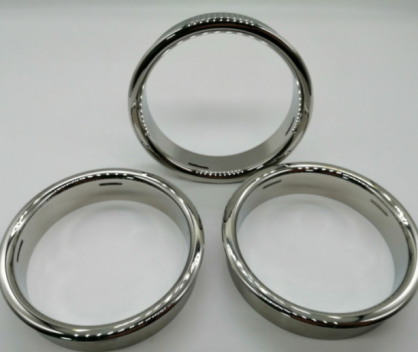
Production Processes Used: Three-axis CNC turning machining, four-axis CNC milling machining, mirror polishing post-processing
Collaboration Premise:
This is a successful collaboration case with an international high-end client from the automotive industry, Volkswagen Group's Bentley brand.
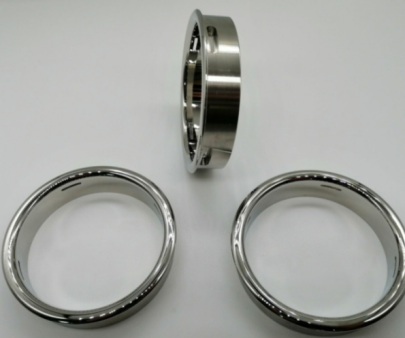
Before collaborating with us, these parts were produced by another company. However, due to the client's high standards for structural dimensions, product deformation, and especially surface treatment technology, the previous company failed to meet the requirements during sample confirmation.
Under suitable conditions, we obtained sample confirmation qualifications and achieved customer satisfaction through comprehensive communication between our engineers and the client on all details, as well as our precise understanding of the product positioning.
Since it involves small-batch production, the client's requirements included controlling costs within the lowest possible range and ensuring rapid delivery.
Project Details:
Through cost calculation and process analysis, we developed a solution involving CNC turning machining, four-axis CNC milling machining, and 16 additional post-processing steps. After evaluating various suppliers, the client ultimately chose to collaborate with us.
CNC Turning Machining:
During the machining process, we effectively addressed the adverse characteristics of SUS304 material, such as high hardness, tool wear susceptibility, and deformation tendencies, ensuring that part accuracy remains within the design specifications.

CNC Milling Machining:
The four grooves on the outer ring of the part are critical for assembly. We employed four-axis synchronized CNC machining technology to maintain precision in groove angles and step heights.

Surface Treatment
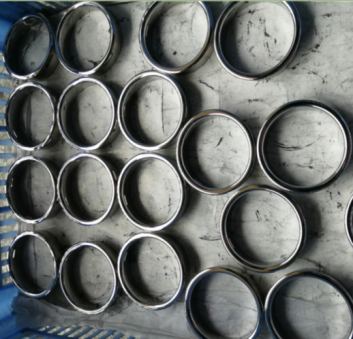
Surface treatment is related to the overall appearance of the car's high-grade, we use 16 processes to the product surface mirror treatment.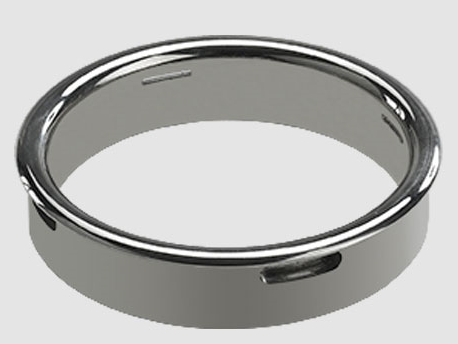
Actual loading effect
Quality Inspection
Dimensional accuracy inspection: Our QC department carries out actual dimensional measurements of the processed parts using three-coordinate measuring instruments, which is used to inspect the whole batch of parts to ensure that they are qualified.
Product Appearance Inspection: We have a professional light source box to check the inspection, through 360 degrees of glossy one to one test, to ensure that the surface will not have fine scratches and wavy lines.
Parts protection measures
The first layer protects the outer surface of the product, the second layer protects the parts from bruises, and the third layer protects the parts from extrusion and deformation.
Experience:
We have mature processing solutions and refined processes, a full understanding of the product and customer requirements, and have advanced inspection equipment and strict inspection standards in order to make our customers trust us and be satisfied!
Categories
Latest News
Contact Us
Contact: Shenzhen Lauens Technology Co., Ltd.
Phone: +86 18392576823
E-mail: contact@lauens.com
Whatsapp:8618392576823
Office Add: No. 8, Guangyuan 4th Road, Dongkeng Community, Fenghuang Street, Guangming District, Shenzhen
